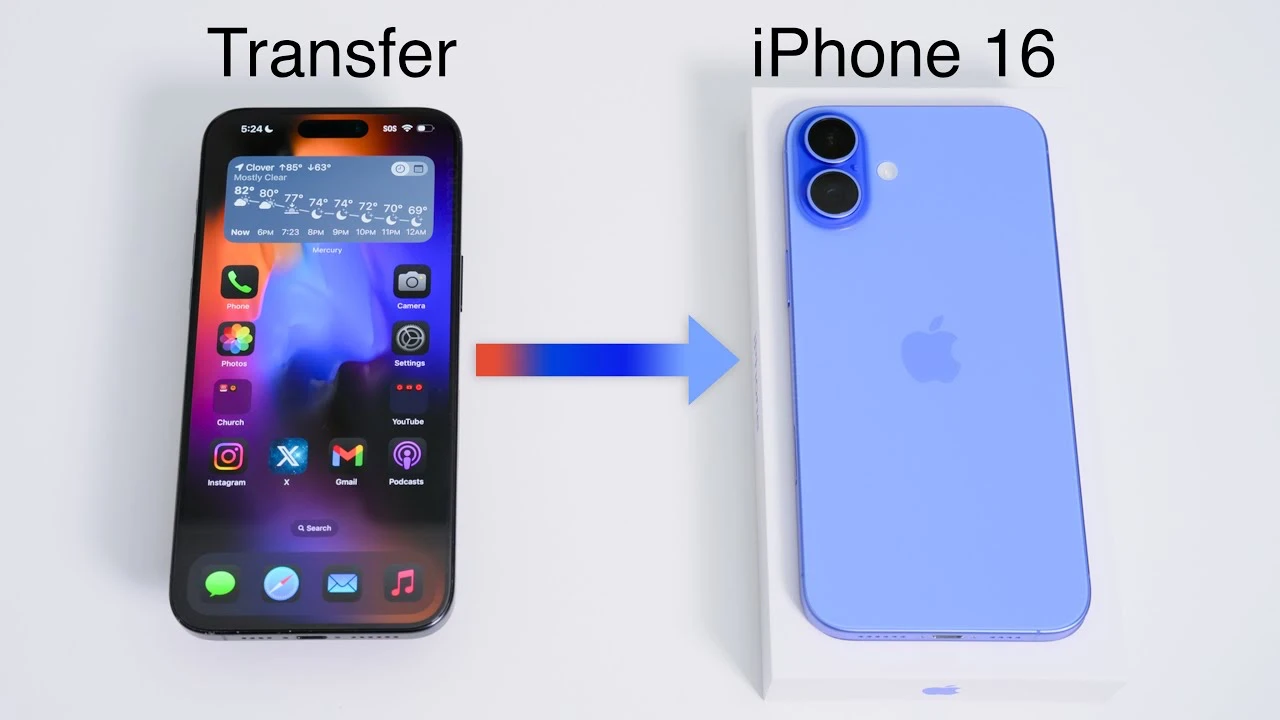
Upgrading to a new iPhone 16, 16 Plus, 16 Pro, or 16 Pro Max is an exciting experience, but the thought of transferring all your data from your old device can be daunting. However, with the right steps and preparation, you can ensure a smooth and seamless transition, bringing all your important information, settings, and memories to your new iPhone. A new video from Zollotech will walk you through the process, making it easy and stress-free.
Preparation: Gathering Essential Information and Making Decisions
Before diving into the transfer process, it’s crucial to have all the necessary information and make some key decisions. First, ensure that you have your Apple ID and associated passwords readily available. Your Apple ID is the key to accessing iCloud and transferring data between devices. Next, decide whether you will transfer your existing SIM card to your new iPhone or opt for an eSIM for cellular connectivity. eSIMs provide a convenient, digital alternative to physical SIM cards, allowing you to manage multiple lines on a single device.
Initial Setup: Powering On and Verifying Your New iPhone
With your essential information gathered and decisions made, it’s time to power on your new iPhone 16 or 16 Pro. Follow the on-screen prompts to begin the setup process. You’ll be asked to use Face ID or create a passcode for secure access to your device. When prompted, select the option to transfer data from your old iPhone, as this will initiate the seamless switch process.
Data Transfer: Choosing the Best Method for Your Needs
Apple offers several methods for transferring data from your old iPhone to your new one, allowing you to choose the option that best suits your needs and preferences. The most common methods include:
- Direct transfer: This option allows you to transfer data directly from your old iPhone to your new one using a wired or wireless connection.
- iCloud backup: If you have been regularly backing up your old iPhone to iCloud, you can easily restore your data from the most recent backup.
- Other methods: Apple also supports data transfer through iTunes or Finder, depending on your computer’s operating system.
Once you’ve selected your preferred transfer method, agree to the terms and conditions, enable location services, and set up Apple Pay if desired.
Feature Setup: Configuring Your New iPhone’s Unique Features
After the initial data transfer, take some time to configure your new iPhone’s unique features. Set up Face ID for secure and convenient access to your device. Customize Siri settings and other preferences to tailor your iPhone experience to your liking. If you’re interested in testing out the latest features and providing feedback, consider joining the Apple Beta Software Program.
Final Steps: Verifying Data Transfer and Completing the Switch
As the data transfer process nears completion, it’s essential to verify that all your apps, settings, and data have been successfully transferred to your new iPhone. Take a few moments to browse through your apps, photos, and documents to ensure everything is in place. If you own an Apple Watch, don’t forget to pair it with your new iPhone to maintain seamless connectivity and functionality. Lastly, log in to any apps that require additional authentication, such as banking or social media apps, to ensure uninterrupted access.
Post-Transfer: Syncing Data and Erasing Your Old iPhone
After completing the transfer process, take some time to ensure that all your data is synced correctly, paying special attention to photos and messages. If you plan on selling or giving away your old iPhone, it’s crucial to erase all data from the device to protect your privacy. Before doing so, verify that your cellular settings have been transferred correctly and that your eSIM has been successfully activated on your new iPhone, if applicable.
Summary
By following these steps and taking the time to properly prepare and execute the transfer process, you can ensure a seamless switch to your new iPhone 16 or 16 Pro, bringing all your cherished data, settings, and memories with you. Embrace the excitement of your new device, knowing that you’ve taken the necessary steps to make the transition as smooth and stress-free as possible. Head over to YouTube using the link below to watch the video.
Source & Image Credit: Zollotech
Filed Under: Apple, Apple iPhone, Guides
Latest TechMehow Deals
Disclosure: Some of our articles include affiliate links. If you buy something through one of these links, TechMehow may earn an affiliate commission. Learn about our Disclosure Policy.
