If you are interested in building your very own network attached storage (NAS) you might be interested in a new tutorial published by the Explaining Computers channel which shows how you can use a RISC-V NAS BPI-F3 and OpenMediaVault. It’s a great tutorial if you have ever considered building a powerful and cost-effective Network Attached Storage (NAS) device without breaking the bank.
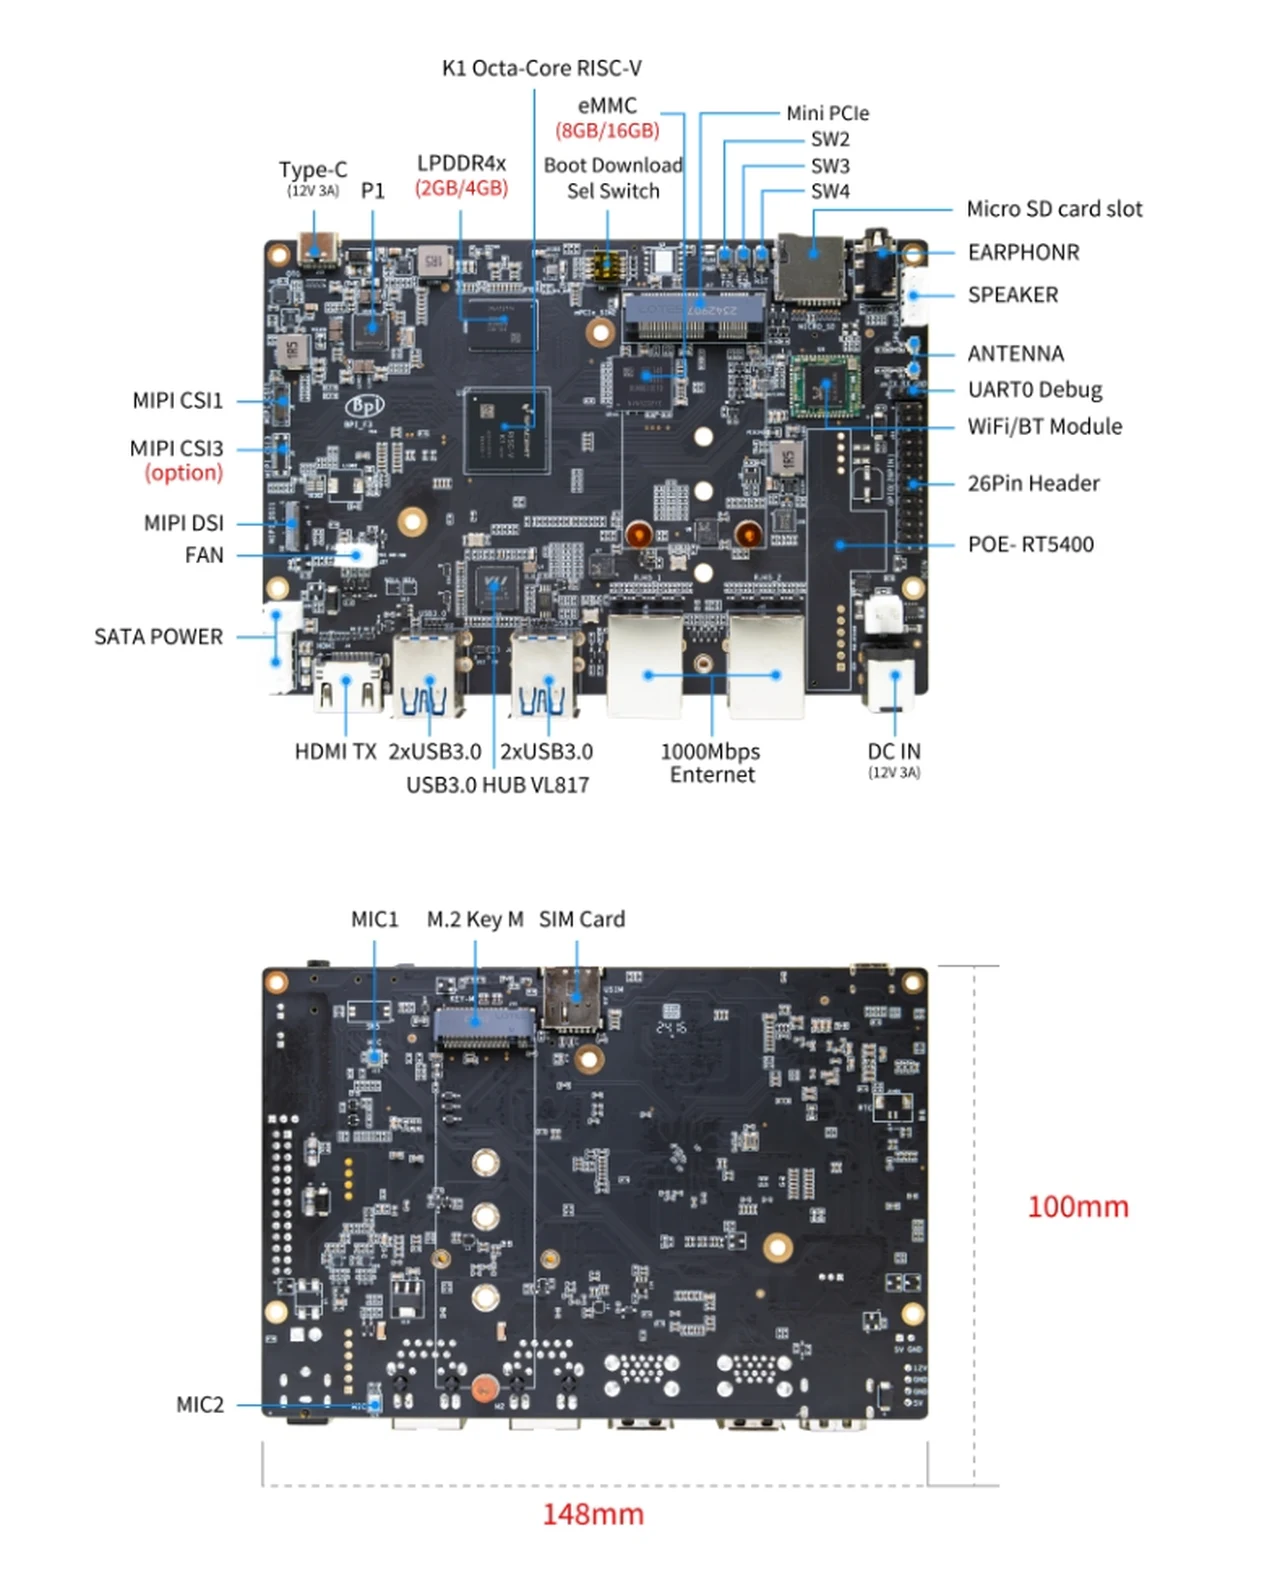
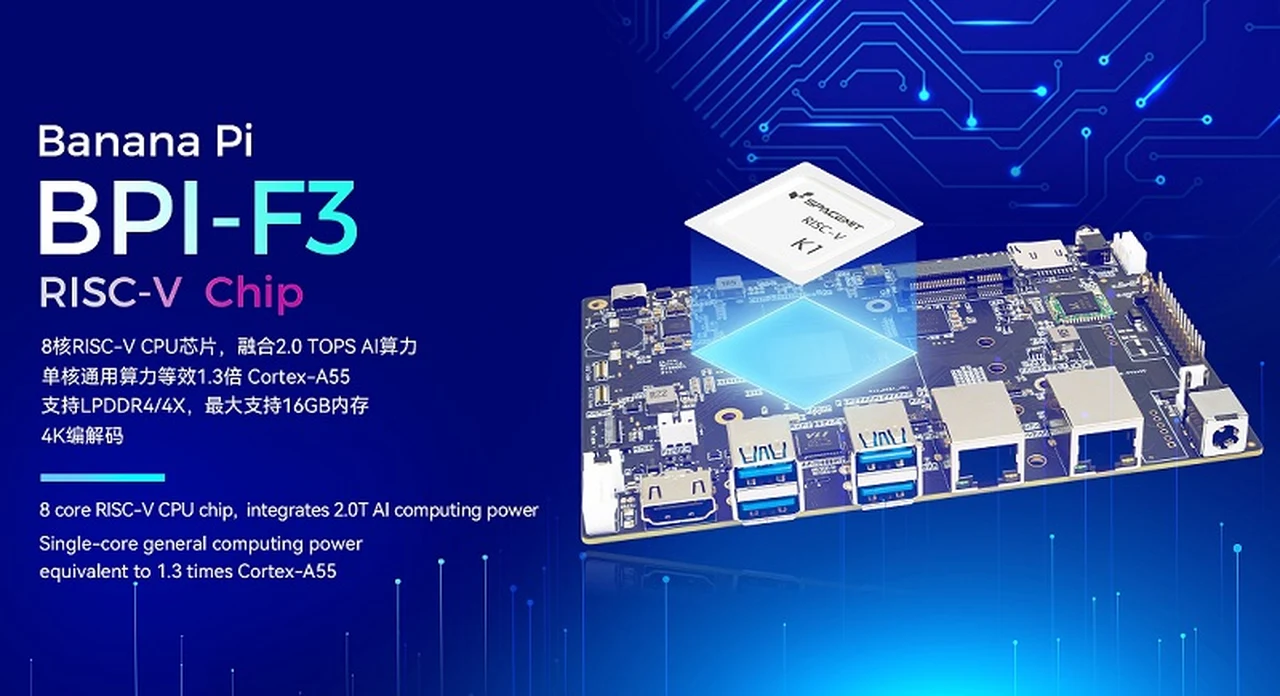
The Banana Pi BPI-F3 is a groundbreaking $88 octa-core RISC-V single-board computer (SBC) that offers unparalleled versatility and performance for a wide range of applications. With its powerful Space TK1 system on a chip, 4 GB of RAM, and multiple storage options, including microSD, onboard eMMC, and an M.2 slot, the BPI-F3 is an ideal choice for building a high-performance Network Attached Storage (NAS) device.
In this comprehensive guide, we will walk you through the process of creating a robust and efficient NAS using the Banana Pi BPI-F3 and OpenMediaVault software. By following these step-by-step instructions, you’ll learn how to:
- Set up the hardware components for optimal performance
- Configure the software to ensure seamless operation
- Implement data redundancy measures for enhanced reliability
- Enable network sharing for easy access across devices
RISC-V NAS BPI-F3 and OpenMediaVault
Here are a selection of other articles from our extensive library of content you may find of interest on the subject of RISC-V hardware and projects :
To begin, let’s focus on setting up the hardware components. Start by inserting a microSD card and an M.2 SSD into the designated slots on the BPI-F3 board. These storage devices will serve as the primary repositories for your NAS.
Next, use an M.2 PCIe to twin SATA port adapter to connect two 750 GB Western Digital hard drives to the BPI-F3. These additional drives will provide ample storage capacity for your NAS. To ensure reliable power supply to these drives, use an old IDE to USB adapter. This setup guarantees that your NAS has sufficient storage space and a stable power source, laying the foundation for optimal performance.
OpenMediaVault Software Configuration
With the hardware setup complete, it’s time to focus on the software configuration. Begin by installing Bambo OS, a Debian-based Linux distribution specifically optimized for RISC-V architecture, on the BPI-F3. This operating system provides a stable and efficient platform for running your NAS software.
Next, download and flash the OpenMediaVault NAS software onto a microSD card. Insert the card into the BPI-F3 and boot the system. Once the system is up and running, access the OpenMediaVault web interface to configure and manage your NAS. OpenMediaVault offers a user-friendly and intuitive platform, making it easy to set up and administer your NAS, even for users with limited technical expertise.

RAID Configuration for Data Redundancy and Reliability
To safeguard your valuable data and ensure uninterrupted operation, setting up a RAID 1 (mirror) configuration is crucial. Start by wiping the drives to prepare them for the RAID setup. This process ensures that the drives are clean and ready for the mirroring process.
Next, create and mount a file system on the RAID array. This step enables the NAS to store and access data efficiently. With RAID 1, your data is mirrored across both drives, providing a robust backup mechanism. In the event of a drive failure, your data remains intact and accessible, minimizing the risk of data loss and ensuring continuous operation of your NAS.
Network Sharing
To make your NAS accessible to other devices on your network, configure shared folders and enable the SMB/CIFS service. This allows you to map network drives on various operating systems, such as Chrome OS Flex and Windows 10, making it convenient to access your NAS from different devices.
By setting up network sharing, you enable seamless collaboration and file access across your entire network. Whether you need to store and retrieve files from your laptop, desktop, or mobile device, your RISC-V NAS will be readily available, providing a centralized and efficient storage solution.
Optimizing Your NAS for Long-Term Use
To ensure optimal performance and longevity of your NAS, it’s essential to implement measures that promote system stability and efficiency. Start by setting appropriate spin-down times for the hard drives. This feature allows the drives to enter a low-power state when not in use, conserving energy and reducing wear and tear on the hardware.
Additionally, test the file transfer speeds over gigabit Ethernet to verify that your NAS is performing at its best. By monitoring the transfer speeds, you can identify any bottlenecks or issues that may impact the performance of your NAS and take corrective actions to optimize its operation.
The Banana Pi BPI-F3, coupled with OpenMediaVault software, offers a powerful and cost-effective solution for building a high-performance NAS using RISC-V technology. By following this comprehensive guide, you’ll be well-equipped to create a reliable and efficient NAS that meets your storage and data management needs.
Embrace the future of computing with RISC-V and unlock the full potential of your NAS with the Banana Pi BPI-F3 and OpenMediaVault. Start building your own RISC-V NAS today and experience the benefits of innovative technology in data storage and management.
Video Credit: Explaining Computers
Filed Under: Hardware, Top News
Latest TechMehow Deals
Disclosure: Some of our articles include affiliate links. If you buy something through one of these links, TechMehow may earn an affiliate commission. Learn about our Disclosure Policy.
