
At some point, your graphics card will become old enough that games or software will start to run poorly. This is your sign that the time has come for an upgrade. While it’s not the only component that can boost your frame rate, a new GPU often brings the biggest improvements. I made the jump from AMD Radeon RX 570 to RX 7900 XT at the end of 2023, and the uplift was exceptional.
Before you can enjoy silky smooth visuals, you must first choose your upgrade and then install your graphics card. As intimidating as it might sound to a newcomer, it’s far easier than you’d think, and we’ll guide you through it step-by-step.
Choose your new graphics card
Your first battle is picking the right one, but we’ve prepared a list to make it easy. Just make sure you consider your current power supply capacity because some are fairly hungry. Generally speaking, a 600W PSU should feed most models, but high-end solutions sometimes demand 850W or greater. You can usually find out your wattage by checking the side of your power supply.
You’ll also need to consider available space in your chassis, as the top models are chonky. Not only do most take up two or even three slots, but the biggest models stretch longer than some cases allow.
Here are our recommendations:
You can find out more details in our best graphics card guide.
Checklist
You’ll need a few things to get started:
Preparation
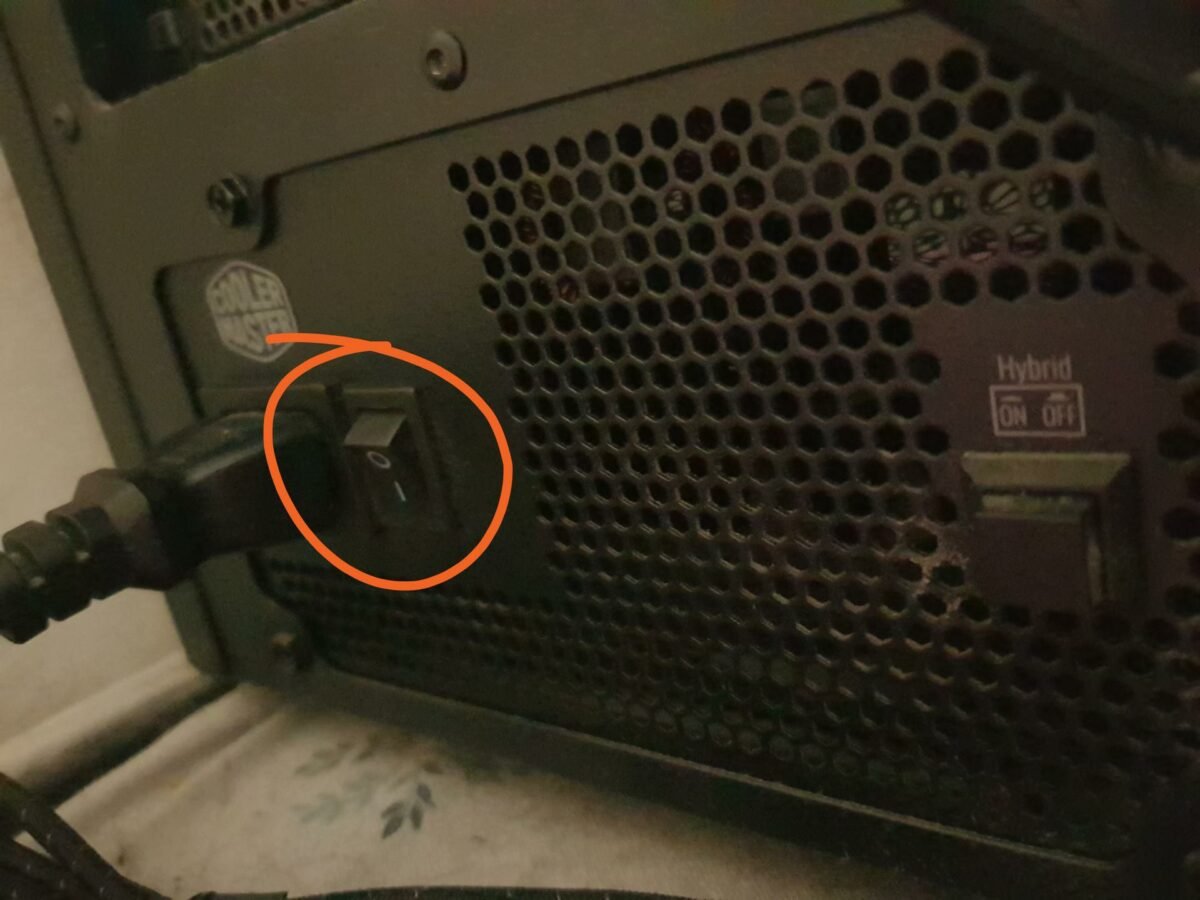
With your computer off, flick the rear PSU switch (picture below) and remove the power cord from the socket. Then, press the power button on your PC a few times to cycle the remaining juice out of the system. These are perhaps the most critical steps on this list, as motherboards tend to store some power even while the PC is off. Dropping a screw while electricity is still flowing could cause a short circuit.
Before you crack your PC case open, put on your anti-static wristband and clip it to a metal part of your chassis. Call us cautious, but safety is of the utmost importance. Doing this grounds you so you don’t get any nasty shocks when playing around with electrical components.
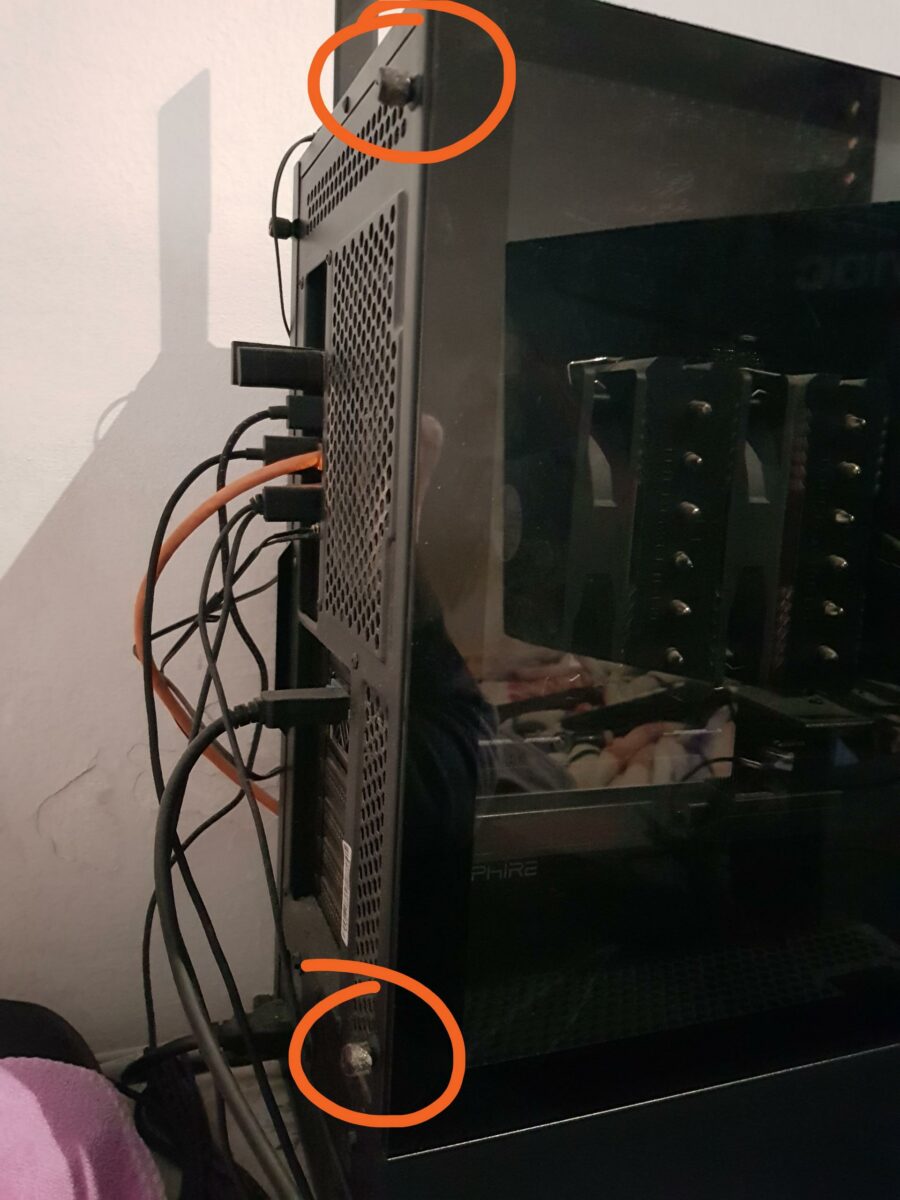
Open your computer’s side panel. In some cases, this means unscrewing it and sliding it towards the rear. Others may have push-release buttons that are far less fiddly.
Removing the previous graphics card
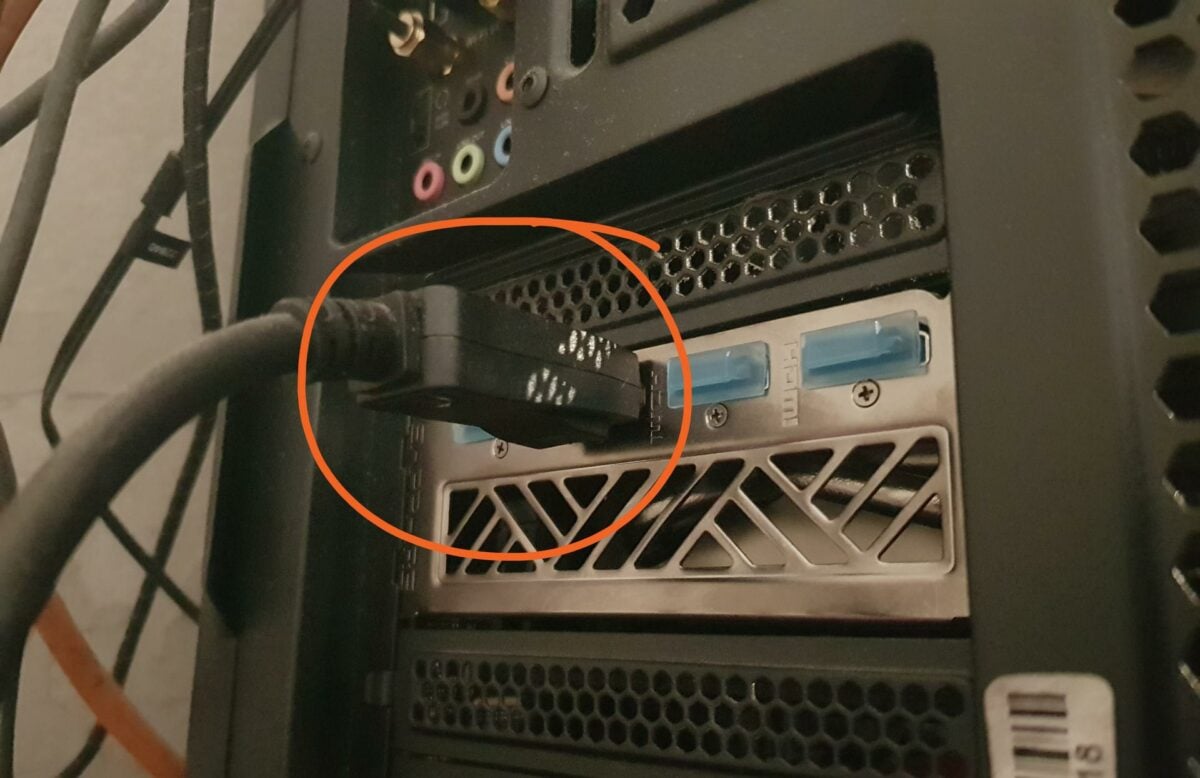
To make room for the new GPU, start by unplugging any HDMI, DisplayPort, 8-pin, or 12VHPWR power cables from the card. Some of these may have a latch you need to press in to loosen the cable, so don’t yank them if they’re not budging.
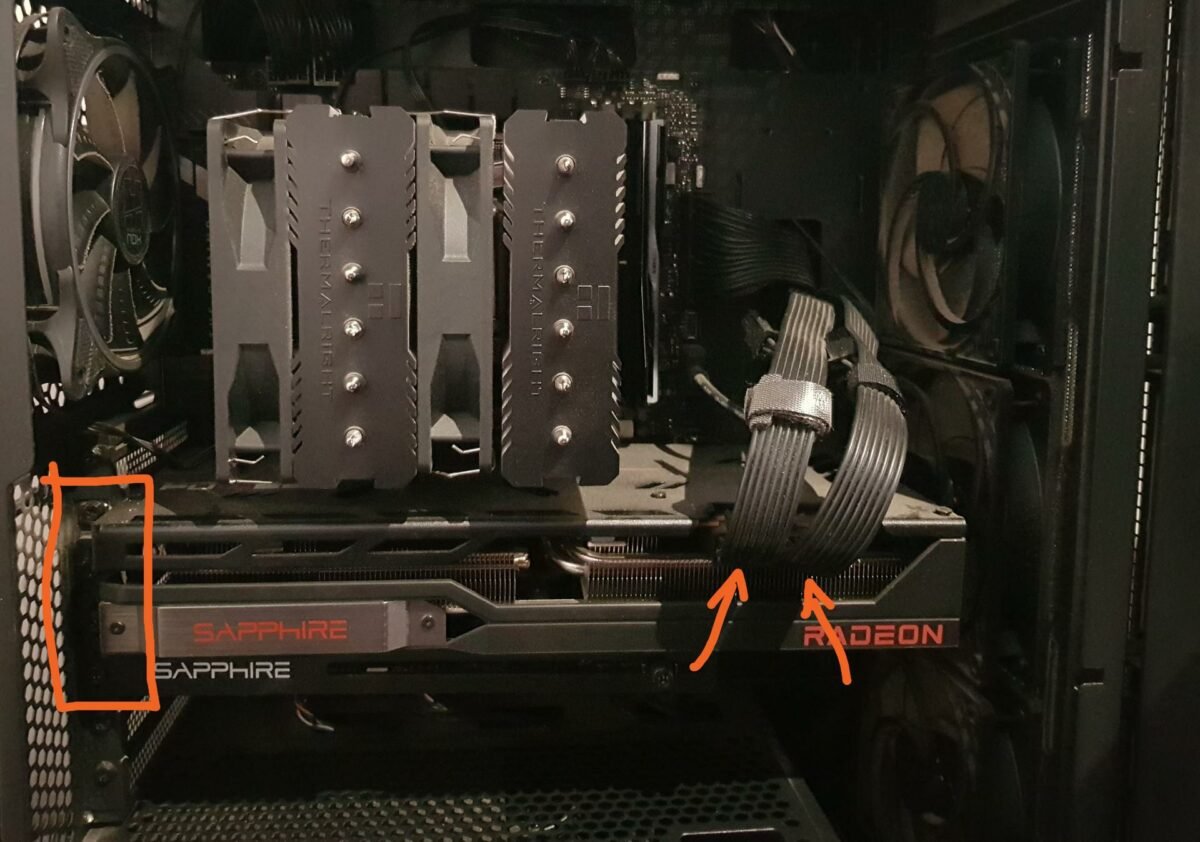
Once there’s nary a cable in sight, remove any screws or retention mechanisms. For most cards, there are just two screws with Philips heads securing the GPU to the motherboard above the port panel. Once these are loose, the device might sag, but don’t fret; this is normal.
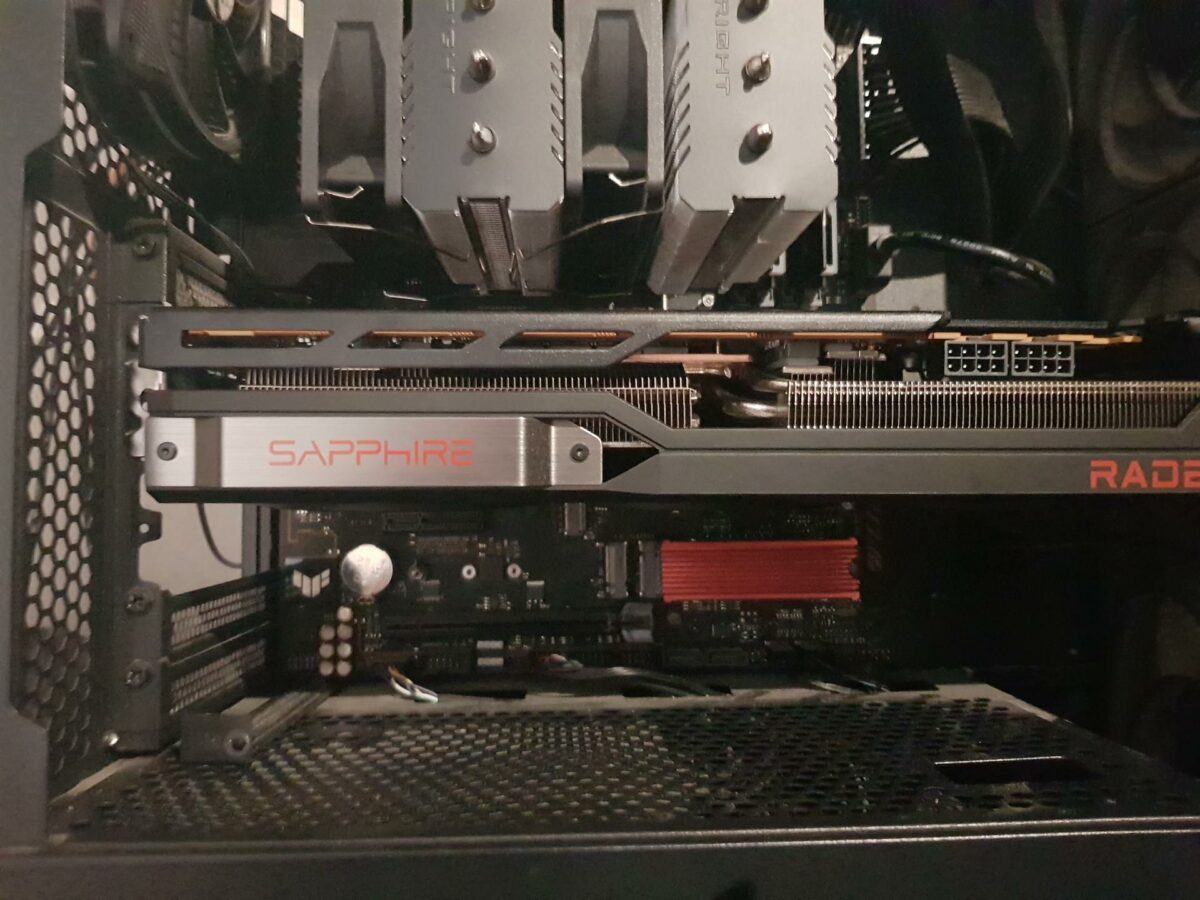
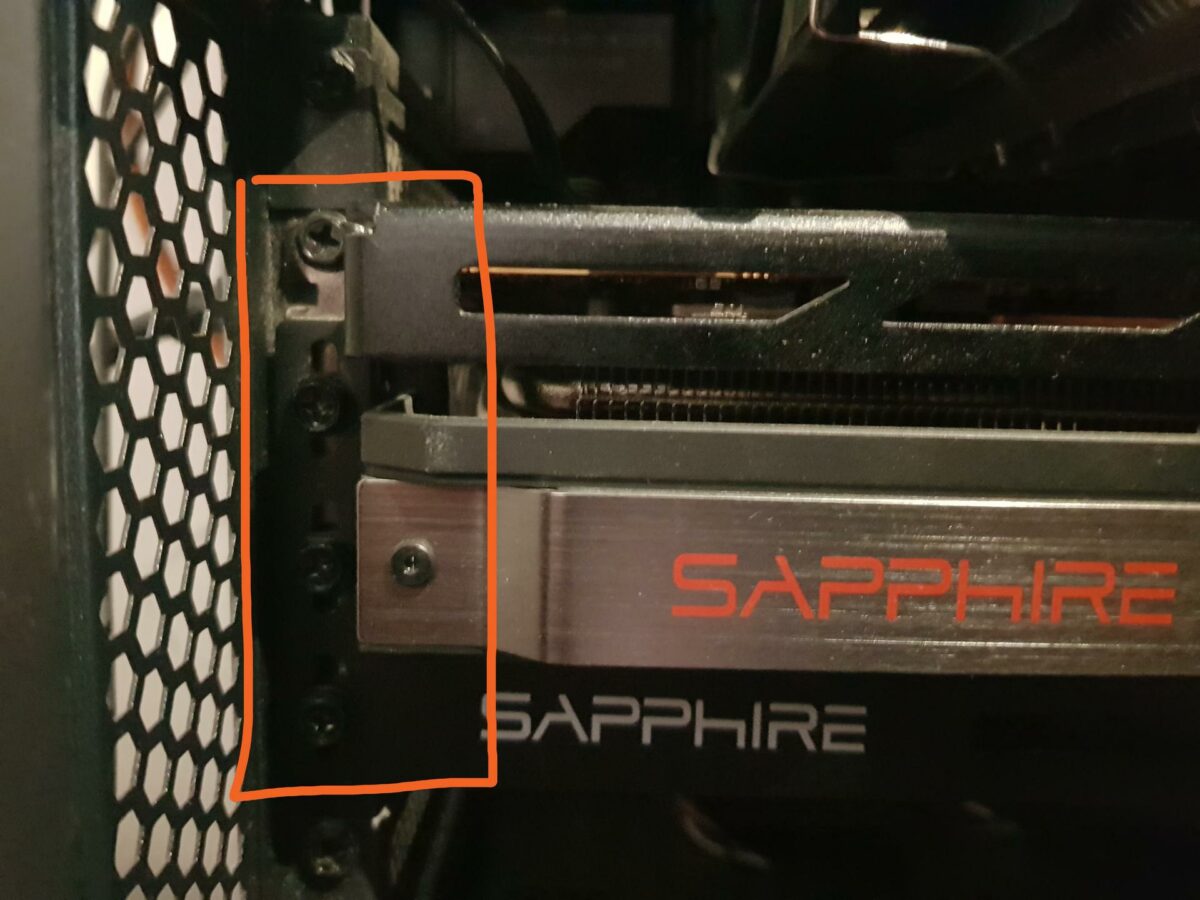
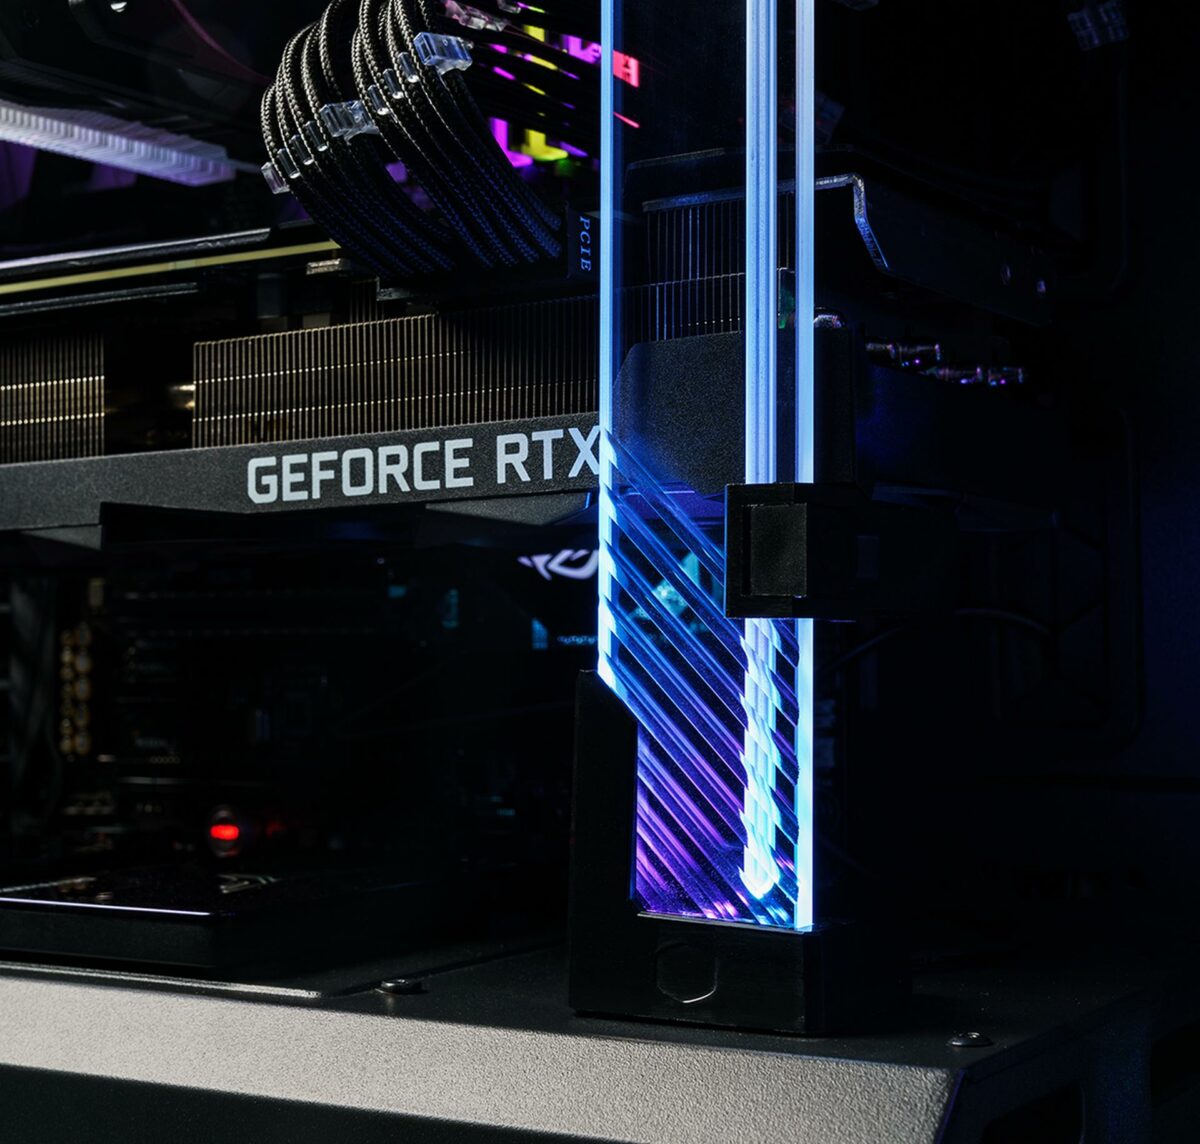
Now, unless you have some special kind of chassis, your graphics card should only be held by the PCIe latch – see pictures below. Press on the latch to unlock the graphics card, then gently lift the card from the slot.
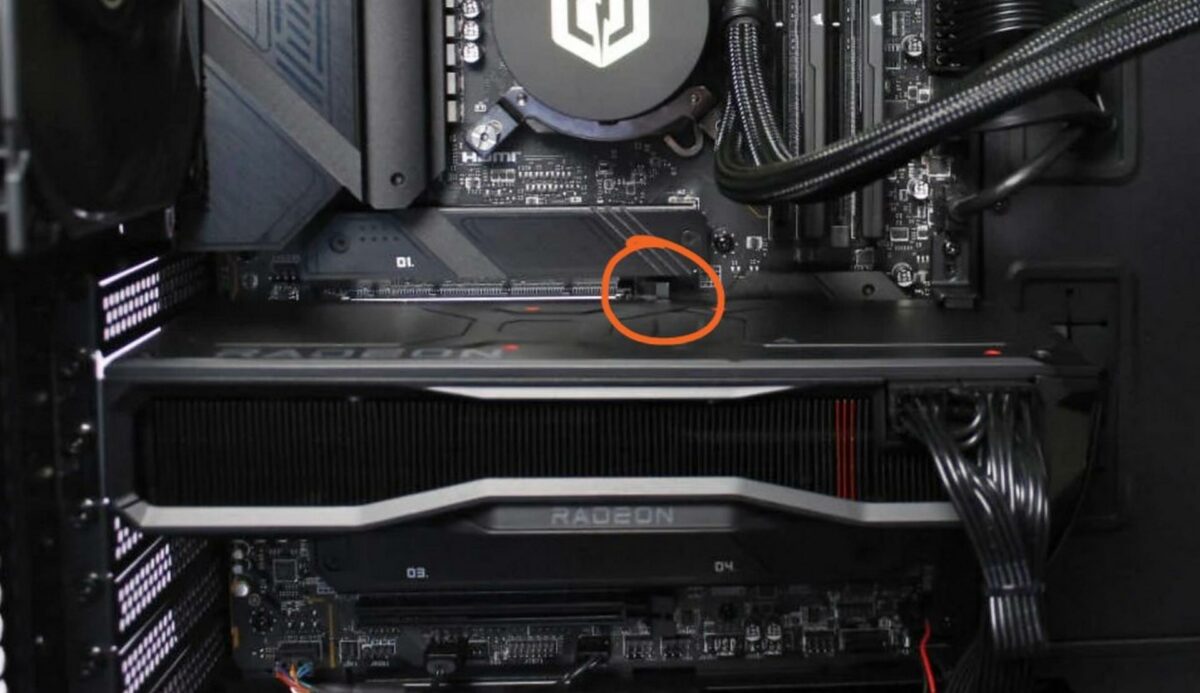
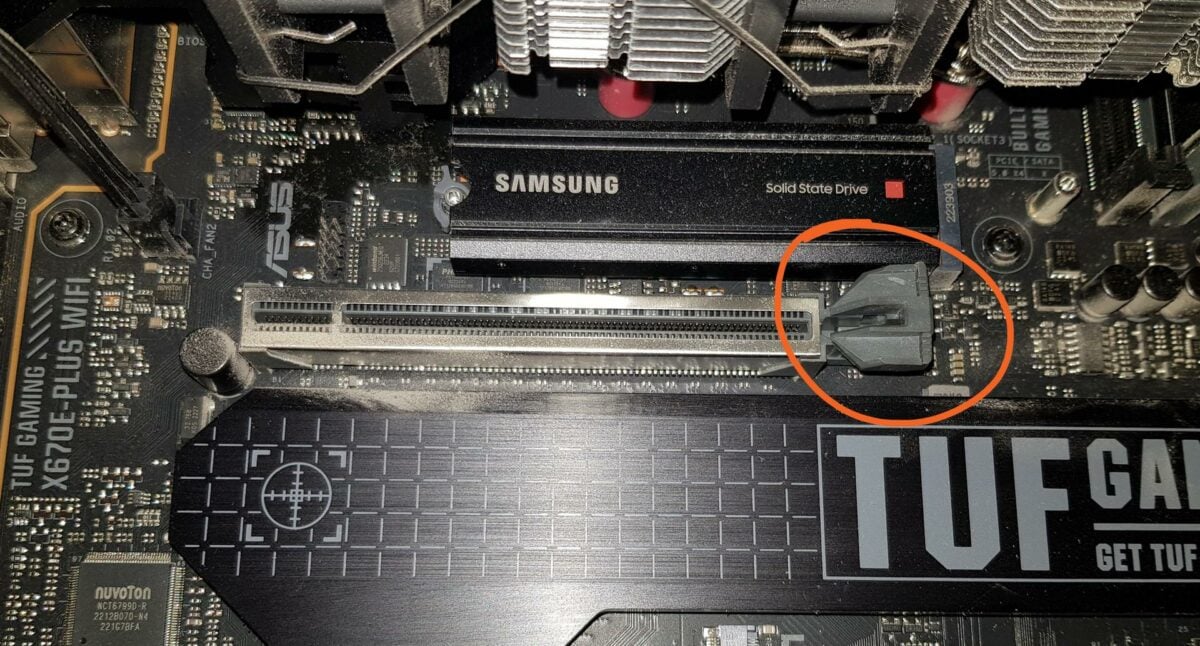
You may need some force to unlock it, as it becomes stiff when a card is installed. Just avoid pushing it with something pointy since if you slip, you could damage your motherboard or break the latch. If you feel the latch isn’t budging or you don’t have enough room to work with, you better remove the CPU cooler to have more space. In rare instances, some motherboards may have different locking mechanisms, but nothing too hard to figure out.
Installing the new graphics card
Now that you have a free PCIe slot, prepare your new graphics card by removing any protective elements. There’s no feeling quite like peeling a plastic film off the logos.
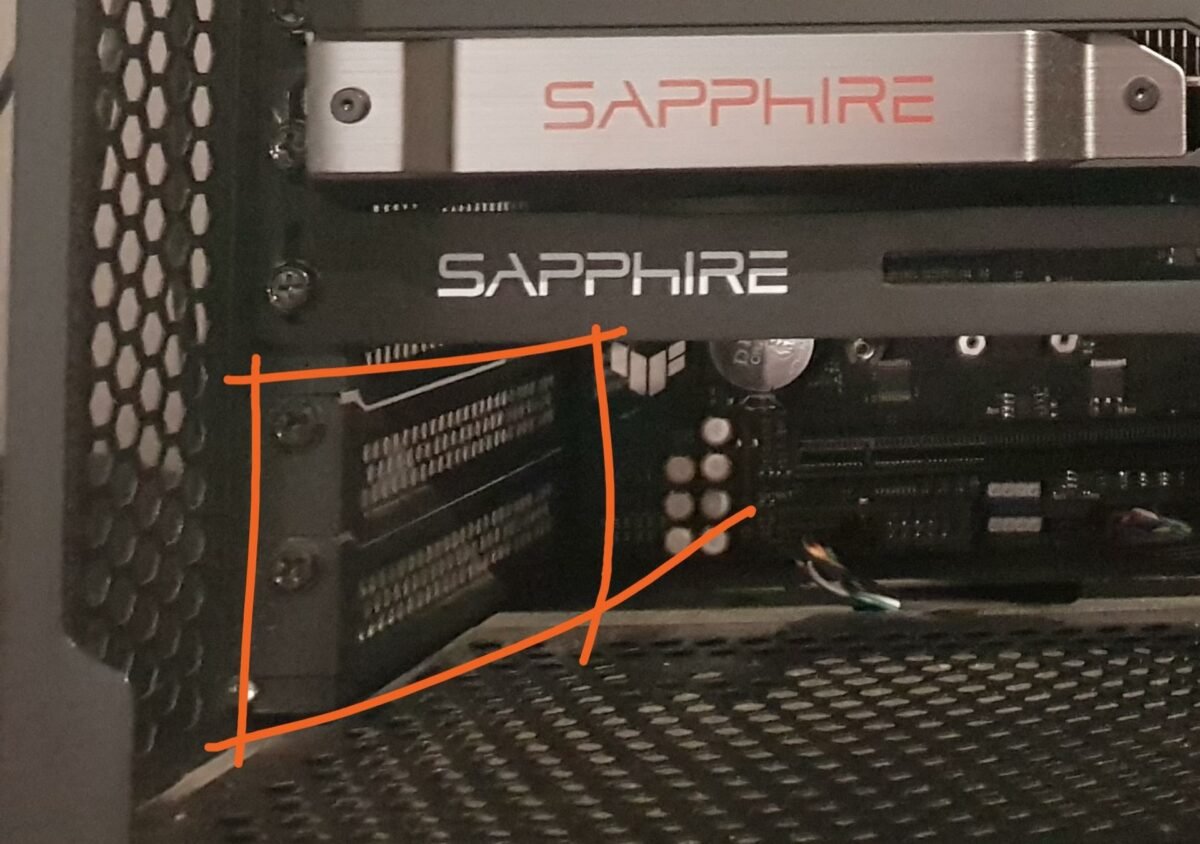
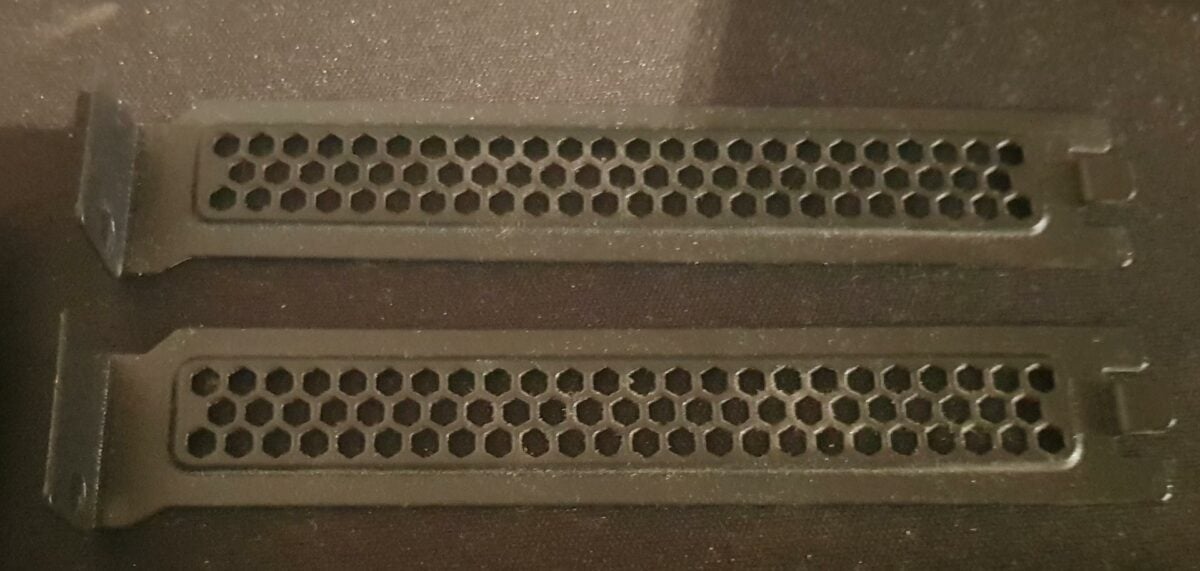
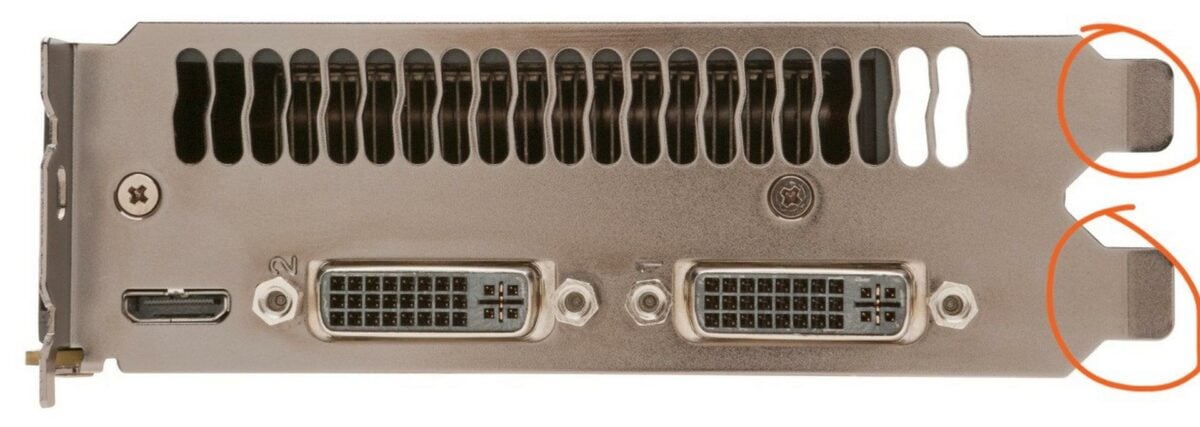
If this is your first graphics card installation, your chassis may have some covers blocking the I/O area. Starting next to the top PCIe slot, which is the one you’ll use, remove the amount needed to fit your graphics card. Keep your loose thumbscrews handy, as you’ll need them later. If you are unsure about the amount you need to remove, simply count the number of feet the I/O shield has – like the picture below.
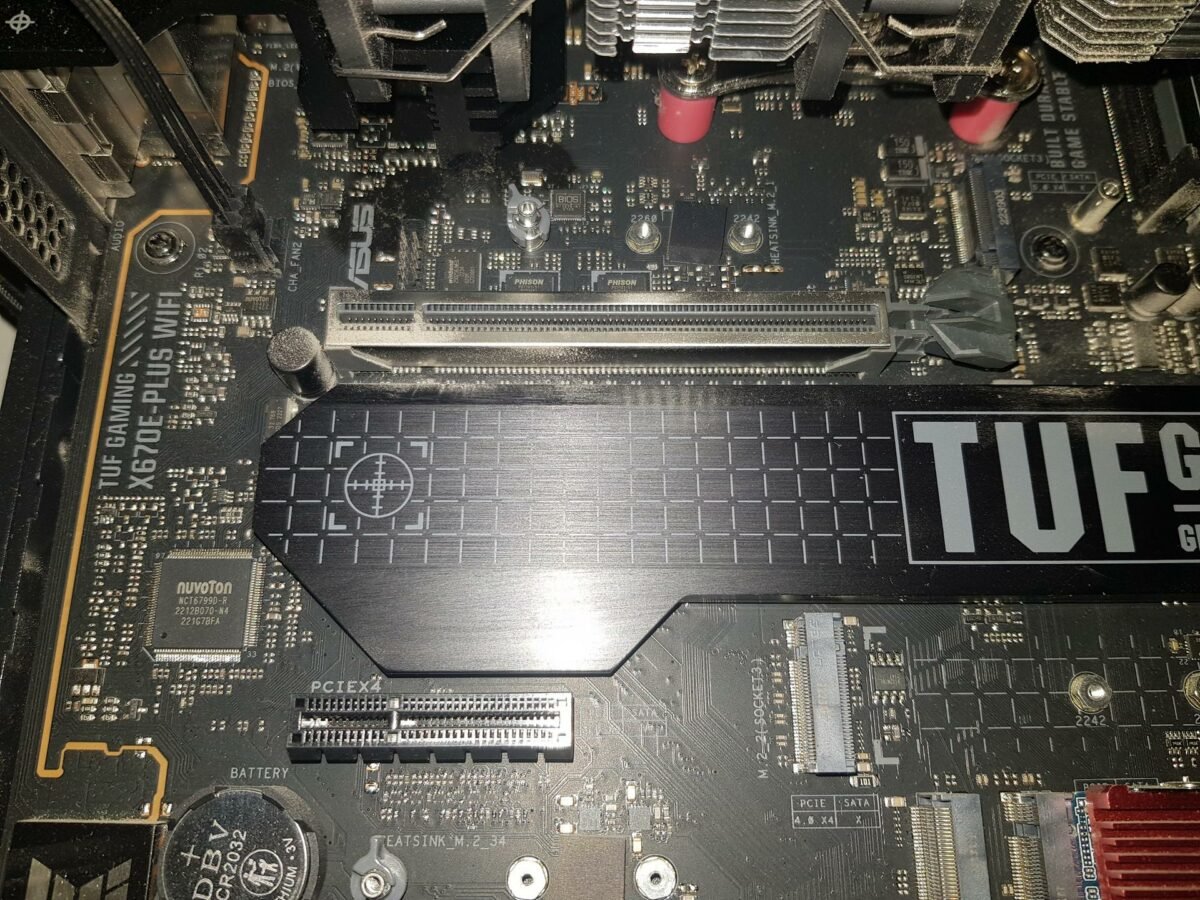
Make sure the PCIe latch is still open. Line your new graphics card with the PCIe slot. On most chassis, the fans should look down, with the video ports protruding from the left side. If you have a different layout or a vertical GPU mount, the same instructions apply but for the mount rather than the graphics card.
With the device correctly positioned, press it into the PCIe slot. You should hear a little click, revealing that the latch is locked in place. If you don’t hear it, that’s OK. Just visually check that the card is fully seated in the PCIe slot.
Put the screws back to secure the card to the chassis. If your chassis has some sort of locking mechanism you may not need screws to hold the card.
For larger models, you might see it sag slightly to the end. While this is normal, we’d recommend a GPU support bracket to take pressure off the slot. Some come bundled with one in the box.
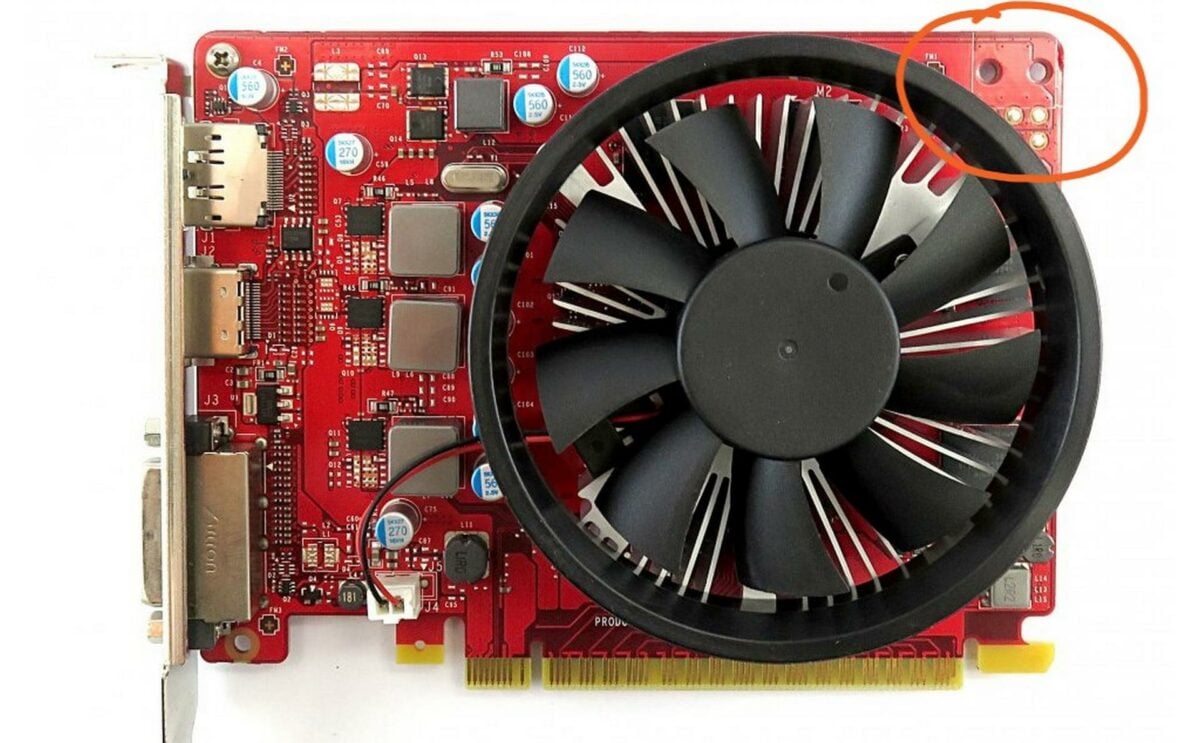
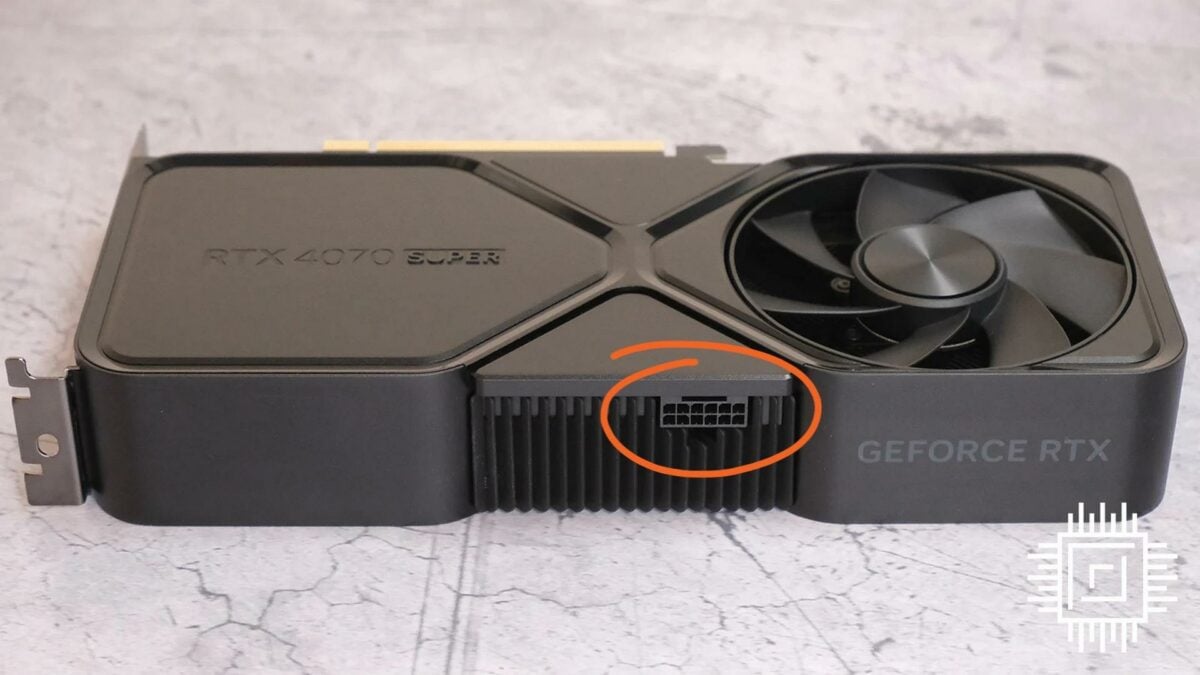
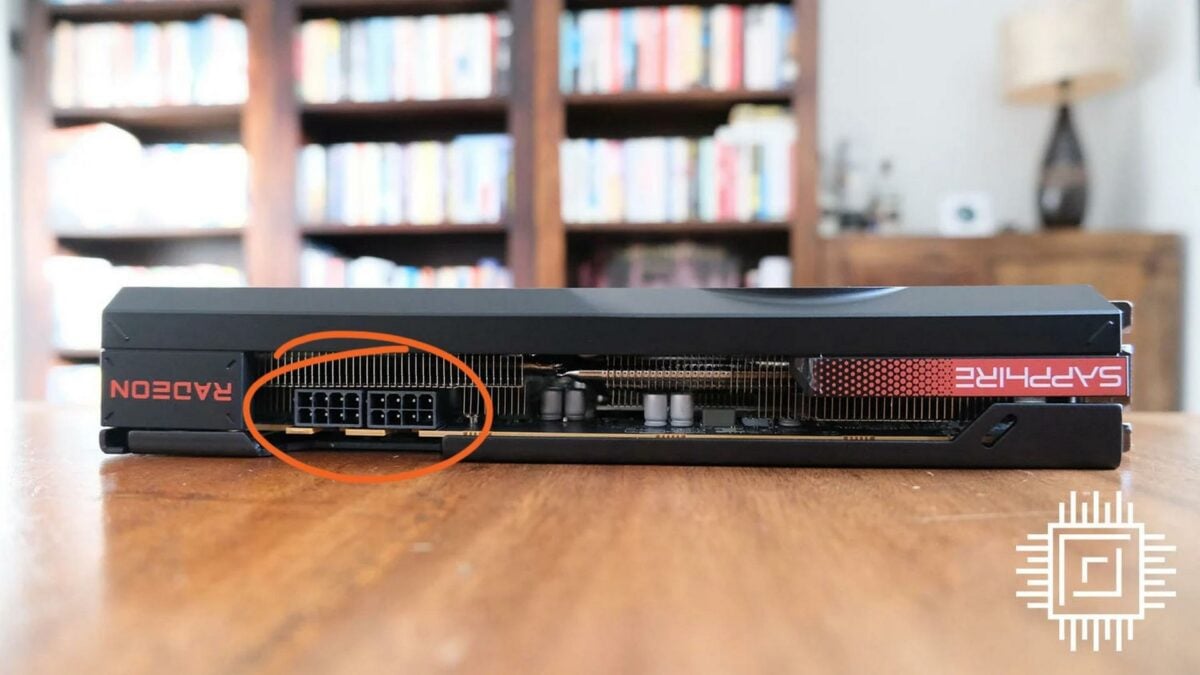
Now, all that’s left is to plug in your power cable. Most run a standard dual PCIe 8-pin, but Nvidia’s GeForce RTX 30 and 40 series use smaller 12VHPWR connectors to power your GPU. These should come with the necessary adapters if you need them and you can buy replacements on Amazon. Entry-level GPUs might not need a power cable at all, as they’re slim enough to draw power directly from the PCIe slot. These aren’t the most powerful graphics cards, though.
Finally, double-check that everything is firmly locked in place – you don’t want loose screws wobbling around. But most importantly, verify and make sure the power cables are properly locked in place.
All good? Put back the chassis’ side panel, connect the main PSU power and flick the switch to the ‘on’ position before starting the computer.
Install the drivers
All that is left now is to get the latest driver to benefit from any recent game optimisations. Regardless of whether you have switched from one brand to another or not, it is always better to do a fresh driver install. Luckily we already have a guide for that if you need it.
Your new and shiny graphics card is ready to rock. Have fun pushing those graphics settings to the max.