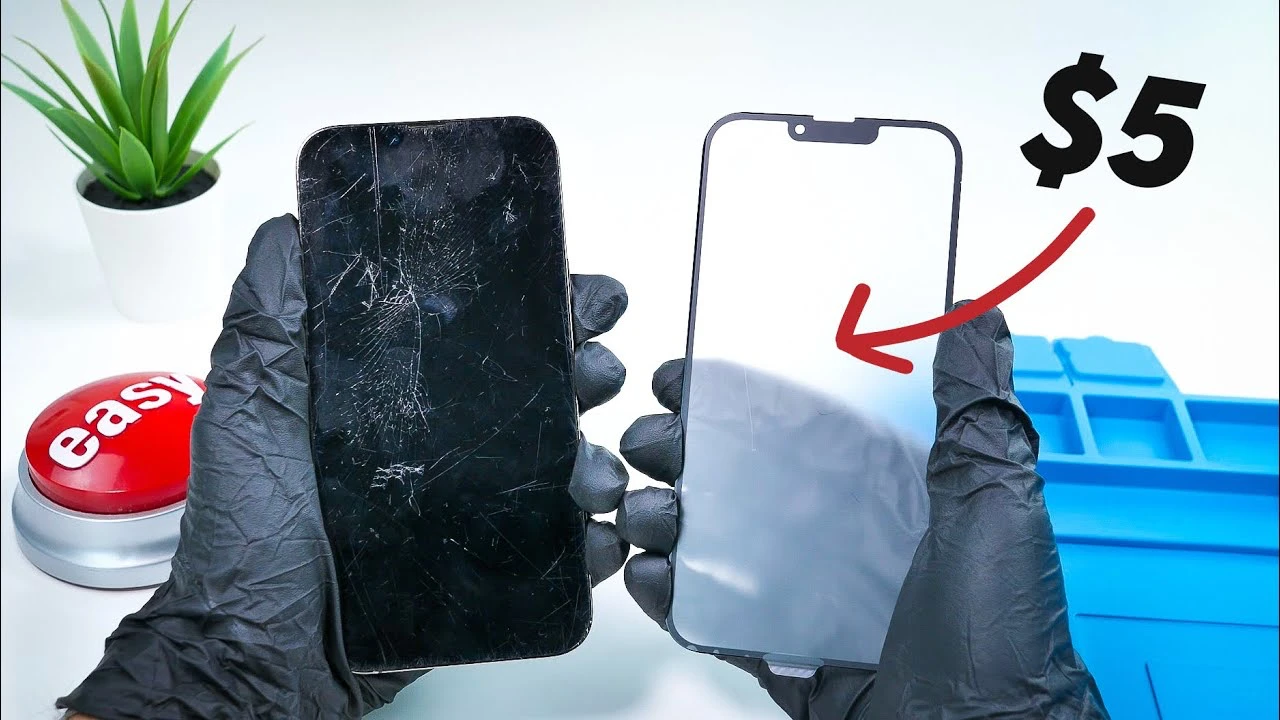
If you’ve accidentally cracked your iPhone screen, you might assume a costly full display replacement is your only option. However, there is a cost-effective alternative that can save you money while preserving the original OLED display: a DIY glass replacement. The video below from Phone Repair Guru will explore the detailed process of replacing only the glass using specialized technology, allowing you to restore your iPhone’s screen to its former glory without breaking the bank.
The Benefits of Glass-Only Replacement
The focus of this guide is on Glass-Only Replacement, a technique that concentrates solely on replacing the damaged glass while maintaining the integrity of the original OLED display. This approach offers several key benefits:
- Significant cost savings compared to a full screen replacement
- Preservation of the original OLED display quality
- Avoidance of device alerts that often accompany full screen replacements
While the process requires precision and patience, the results are highly rewarding. By mastering this technique, you can not only save money on your own device repairs but also potentially offer your skills to others as a profitable service.
The Importance of a Refurbishing Machine
To successfully perform a glass-only replacement, a refurbishing machine is a crucial tool. This specialized equipment assists the removal, lamination, and debubbling of the new glass, ensuring a seamless and professional-quality result.
The refurbishing machine employs advanced techniques like vacuum and wire separation to carefully detach the cracked glass from the display, ensuring that the delicate OLED panel remains unharmed throughout the process. This precision is essential for maintaining the integrity and functionality of your iPhone’s display.
The Glass Replacement Process
The process steps for replacing the glass on your iPhone 13 Pro Max are detailed and require careful execution. Here’s an overview of the key stages:
- Removing necessary components to access the screen
- Using a vacuum and wire to separate the damaged glass from the OLED display
- Cleaning the adhesive residue to ensure a smooth surface for the new glass
- Laminating the new glass onto the OLED display using the refurbishing machine
- Debubbling the newly laminated glass to eliminate any air pockets
Each step demands attention to detail and a steady hand to avoid damaging the display. It’s crucial to follow the instructions carefully and take your time to ensure the best possible results.
Testing and Reassembly
After replacing the glass, it’s essential to test the OLED display before reassembling your iPhone. This step confirms that the screen’s touch sensitivity and display quality remain intact, ensuring that your device will function correctly once the repair is complete.
Once you’ve verified that the display is working properly, you can proceed with reassembling the device and replace all components in their original positions. With the repair complete, your iPhone 13 Pro Max should look and function as good as new.
Challenges and Opportunities
While the benefits of DIY glass replacement are significant, it’s important to acknowledge the challenges and time constraints involved. The entire process can take up to 8 hours, and the success rate can vary based on your skill level and the tools used. It’s a time-intensive endeavor that requires dedication and precision.
However, for those willing to invest the time and effort, there’s an economic opportunity to master this technique. By refurbishing screens, you can offer repair services to others or collaborate with repair shops, turning your skills into a profitable venture.
Summary
The DIY glass replacement for a cracked iPhone 13 Pro Max screen is a meticulous yet rewarding process that offers significant cost savings and the satisfaction of a job well done. By preserving the original OLED display and using specialized tools like a refurbishing machine, you can achieve a high-quality repair that restores your device’s screen to its original condition. With patience, practice, and attention to detail, you can not only save money on your own repairs but also potentially turn your skills into a profitable opportunity in the thriving device repair industry.
Source & Image Credit: Phone Repair Guru
Filed Under: Apple, Apple iPhone, Guides
Latest TechMehow Deals
Disclosure: Some of our articles include affiliate links. If you buy something through one of these links, TechMehow may earn an affiliate commission. Learn about our Disclosure Policy.
