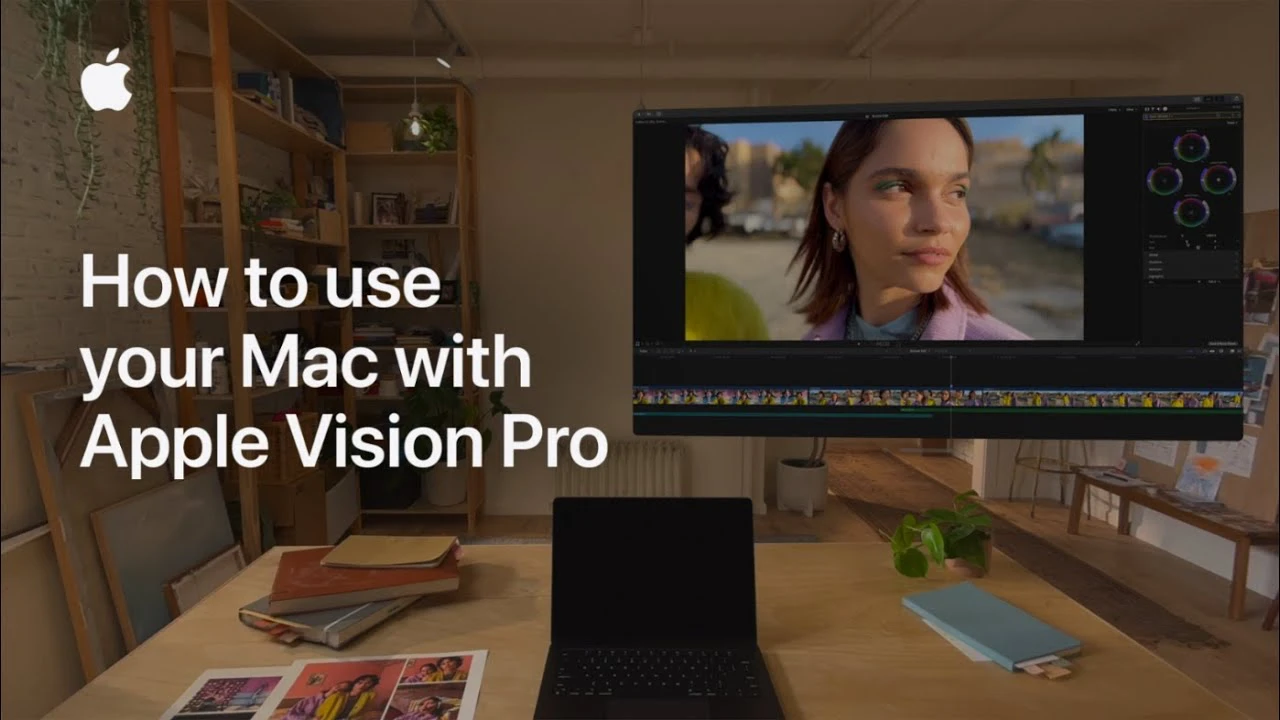
If you’re looking to take your Mac experience to a whole new level, the integration of Apple Vision Pro might just be what you need. The video below from Apple delves into how you can extend your Mac’s display into a vast, private, and immersive environment using the Mac Virtual Display feature. This innovation enhances productivity and the overall user experience, providing a portable and private way to work or play.
Understanding the Setup
Before diving into the expansive virtual space that Apple Vision Pro offers, there are a few prerequisites to ensure a smooth setup. Both your Mac and Apple Vision Pro need to be running on the latest software versions, with macOS Sonoma or later for Mac users being essential. It’s imperative that both devices are logged in using the same Apple ID, with two-factor authentication enabled for that extra layer of security. Connectivity is facilitated through Wi-Fi, Bluetooth, and iCloud Keychain, which should be active on both devices to ensure seamless integration.
Initiating the Connection
Starting off, you will find the process of connecting your Apple Vision Pro to your Mac surprisingly straightforward. Once you’re in your Apple Vision Pro, an empty workspace greets you, ready for connection. By simply looking at your Mac and tapping the “Connect” button that appears, you establish a link between the two devices. Alternatively, the Control Center on your Apple Vision Pro offers another pathway to activate this feature, allowing for the connection to both Mac desktops and laptops.
Navigating Your New Virtual Display
Upon connection, your Mac’s display materializes as a resizable window within the Apple Vision Pro’s environment. This virtual display window can be moved and resized to your preference by pinching and dragging at specific points, offering a customizable experience that tailors to your needs. Whether you’re engaging in work or diving into your favorite multimedia content, the flexibility of adjusting your display ensures that your virtual environment is exactly as you want it.
Wrapping Up Your Session
When it’s time to disconnect, the process is as straightforward as initiating the connection. A simple tap on the “Close” button at the bottom of the virtual display window ends your session, allowing you to return to the physical world with just one gesture. This easy disconnection process underscores the user-friendly nature of the Apple Vision Pro’s integration with your Mac, making it an effortless experience from start to finish.
Through this guide, it’s clear that the synergy between Mac and Apple Vision Pro offers a unique and enriching way to interact with your digital workspace. The seamless integration not only propels productivity but also elevates the user experience to an immersive dimension. By following the steps outlined, you’re well on your way to enjoying a vast, private display space that transforms how you interact with your Mac. Remember, ensuring your devices meet the compatibility and setup requirements is key to unlocking this innovative feature. Enjoy exploring this new frontier of virtual display technology with your Apple Vision Pro and Mac.
Source & Image Credit: Apple
Filed Under: Apple, Guides
Latest TechMehow Deals
Disclosure: Some of our articles include affiliate links. If you buy something through one of these links, TechMehow may earn an affiliate commission. Learn about our Disclosure Policy.
