Helldivers 2 featured a number of powerful weapons you can bring into combat against the vile enemies of Democracy — the Terminids and Automatons. Some weapons, like the SG-225 Breaker, are incredibly deadly on their own, while others, like the P-19 Redeemer, offer a strong backup for when the enemy has you on your heels.
Helldivers 2: How To Get Patriot Exosuit
The Patriot Exosuit is here! With Tien Kwan liberated, Helldivers can now unlock this powerful new Stratagem.
Your Support Weapons, however, are your biggest, deadliest hand-held weapons, offering powerful armor penetration or horde clear on the battlefield. The Autocannon is one of the best, offering some horde-clearing elements, though mainly delivering powerful, armor-piercing rounds that can disrupt some of the most frustrating threats you’ll encounter on missions. This guide details how best to utilize the Autocannon against your enemies to ensure you and your team all make it back alive.
This guide also takes into account the recent nerf to Chargers in Patch 1.000.102 that greatly increases the effectiveness of Autocannons against this troublesome foe.
Helldivers 2
- Released
- February 8, 2024
- Developer(s)
- Arrowhead Game Studios AB
How To Unlock The Autocannon
|
Stratagem Name |
Stratagem Stats |
Stratagem Traits |
Level Requirement |
Cost |
|---|---|---|---|---|
|
Autocannon |
|
Level Requirement: 10 |
Cost: 7000 R |
The Machine Gun will get you by for quite some time (and is still very effective at horde clearing), and switching to the now upgraded Flamethrower will certainly feel like a fun change of pace, but once you hit level 10, it’s time to check out the Autocannon. After reaching level 10, head to the Ship Management terminal, tab past the Ship Modules selection over to Stratagems, then scroll down to Public Service Administration Stratagems, and the Autocannon will be found just after the Flamethrower.
After purchasing it for 7000 Requisition Slips, you’ll be able to select it like any other Stratagem when deploying for a mission as part of your loadout.
How To Use The Autocannon Effectively
|
Stratagem Name |
Ammo |
Armor Penetration |
PS5 Code |
PC Code |
|---|---|---|---|---|
|
Autocannon |
|
↓←↓↑↑→ |
S, A, S, W, W, D |
The Autocannon is a powerful tool for wiping out light and medium-armored targets, and it’s a great counter to some of the most dangerous foes you’ll face, including the Charger and Bile Spewer for the Terminids, and the Tank and Hulk for the Automatons. Even Bile Titans, which are too heavily armored to fully take down without additional ordnance, can be crippled with the Autocannon — you can still destroy their glowing bile sack, removing their Bile-spewing capabilities and severely reducing their lethality.
This weapon can be a little tricky to get the hang of, though, so this section will detail the ins and outs of this incredible weapon.
Autocannon Ammo & Reloading
The Autocannon deploys with a wearable Support Backpack that carries an additional 10 clips —that’s 50 shots total for the weapon — in addition to the 10 shots it deploys with once you have the Hellpod Space Optimization Booster. Each clip restores 5 shots to the weapon, which can hold a total of 10 at a time. So your optimal time to reload is when the weapon is just below half-empty, requiring only a single clip to reload to an optimal range.
If the Autocannon is fully empty, the reload animation takes twice as long, as you need to load in two clips before it’s fully functional again.
- Team Loading: if an ally is wearing your Autocannon Support Backpack, they’ll be able to keep you reloaded as fast as you can shoot. This can make quick work of large crowds of enemies, laying waste to your enemies in droves. It can be pretty easy to get separated from your ammo loader ally, though, so unless your ammo buddy is ready to stay close at all times, you might be better off keeping the backpack on yourself, since the reload time is much quicker than, say, reloading the Recoilless Rifle solo.

Helldivers 2’s Effortless Cinematic Style Convinced Me To Play A Shooter
The cinematography in Helldivers 2 emulates the vibrant work of Fabian Wagner and Larry Fong.
Where To Aim On Chargers
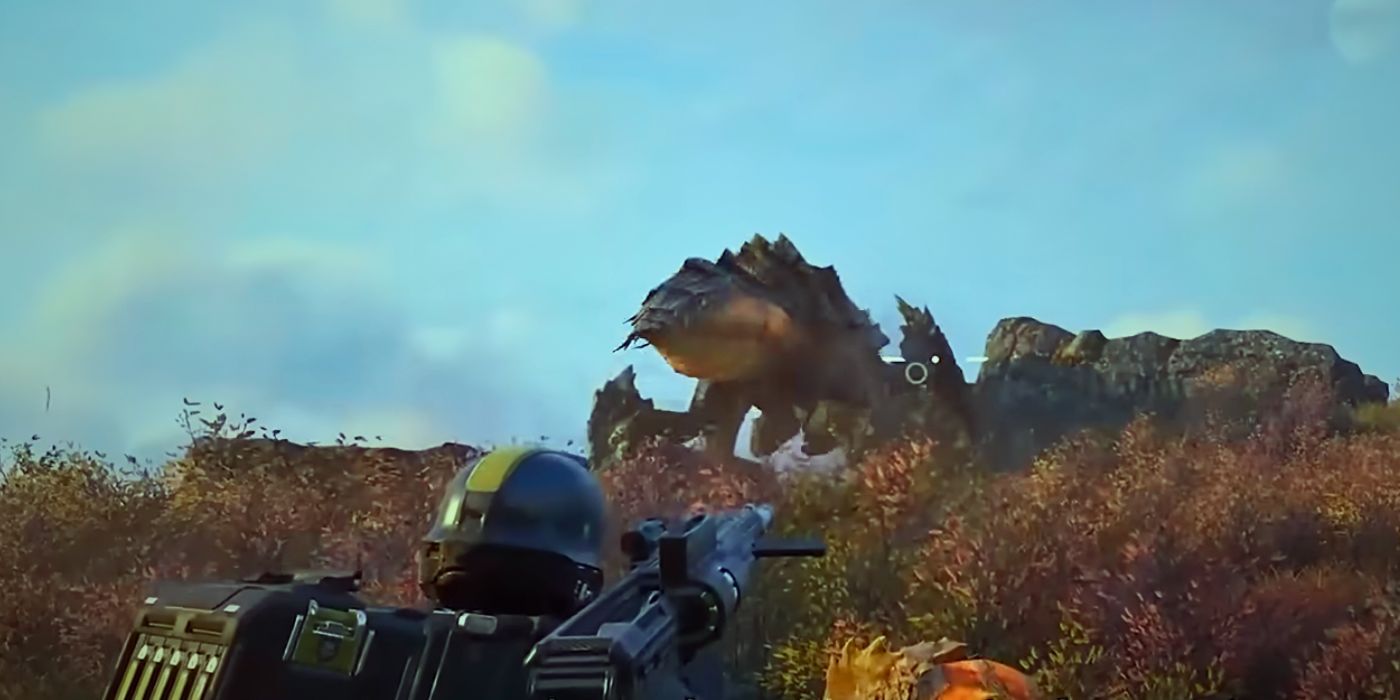
Chargers, due to their disruptive nature and heavy armor, are worth detailing the specifics for how to take them down. They’re covered in heavy armor plating, which is normally a no-go for the Autocannon, so you have to be smart about how to approach these aggressive enemies — otherwise, your shots will simply ricochet off their impenetrable armor plating.
- Leg Shots: Just after dodging their charge, you want to shoot the back of a single leg. Once you land that shot, you’ll be able to damage and break the armor on that same leg when shot from any angle — even the front. The backs of their hind legs are a bit more reliable to hit, but the back of their front legs works too. It usually takes 2 shots, sometimes 3, to fully break the armor on the limb. This will leave the leg exposed to unload with your Primary weapon (give the Slugger a shot).
- Headshots: with the recently released Patch 1.000.102, Chargers just got rebalanced in a big way. The health on a Charger’s head has been reduced, now making it possible to kill a Charger with a single well-placed headshot with the Autocannon or EAT.
How To Take Out Other Key Targets
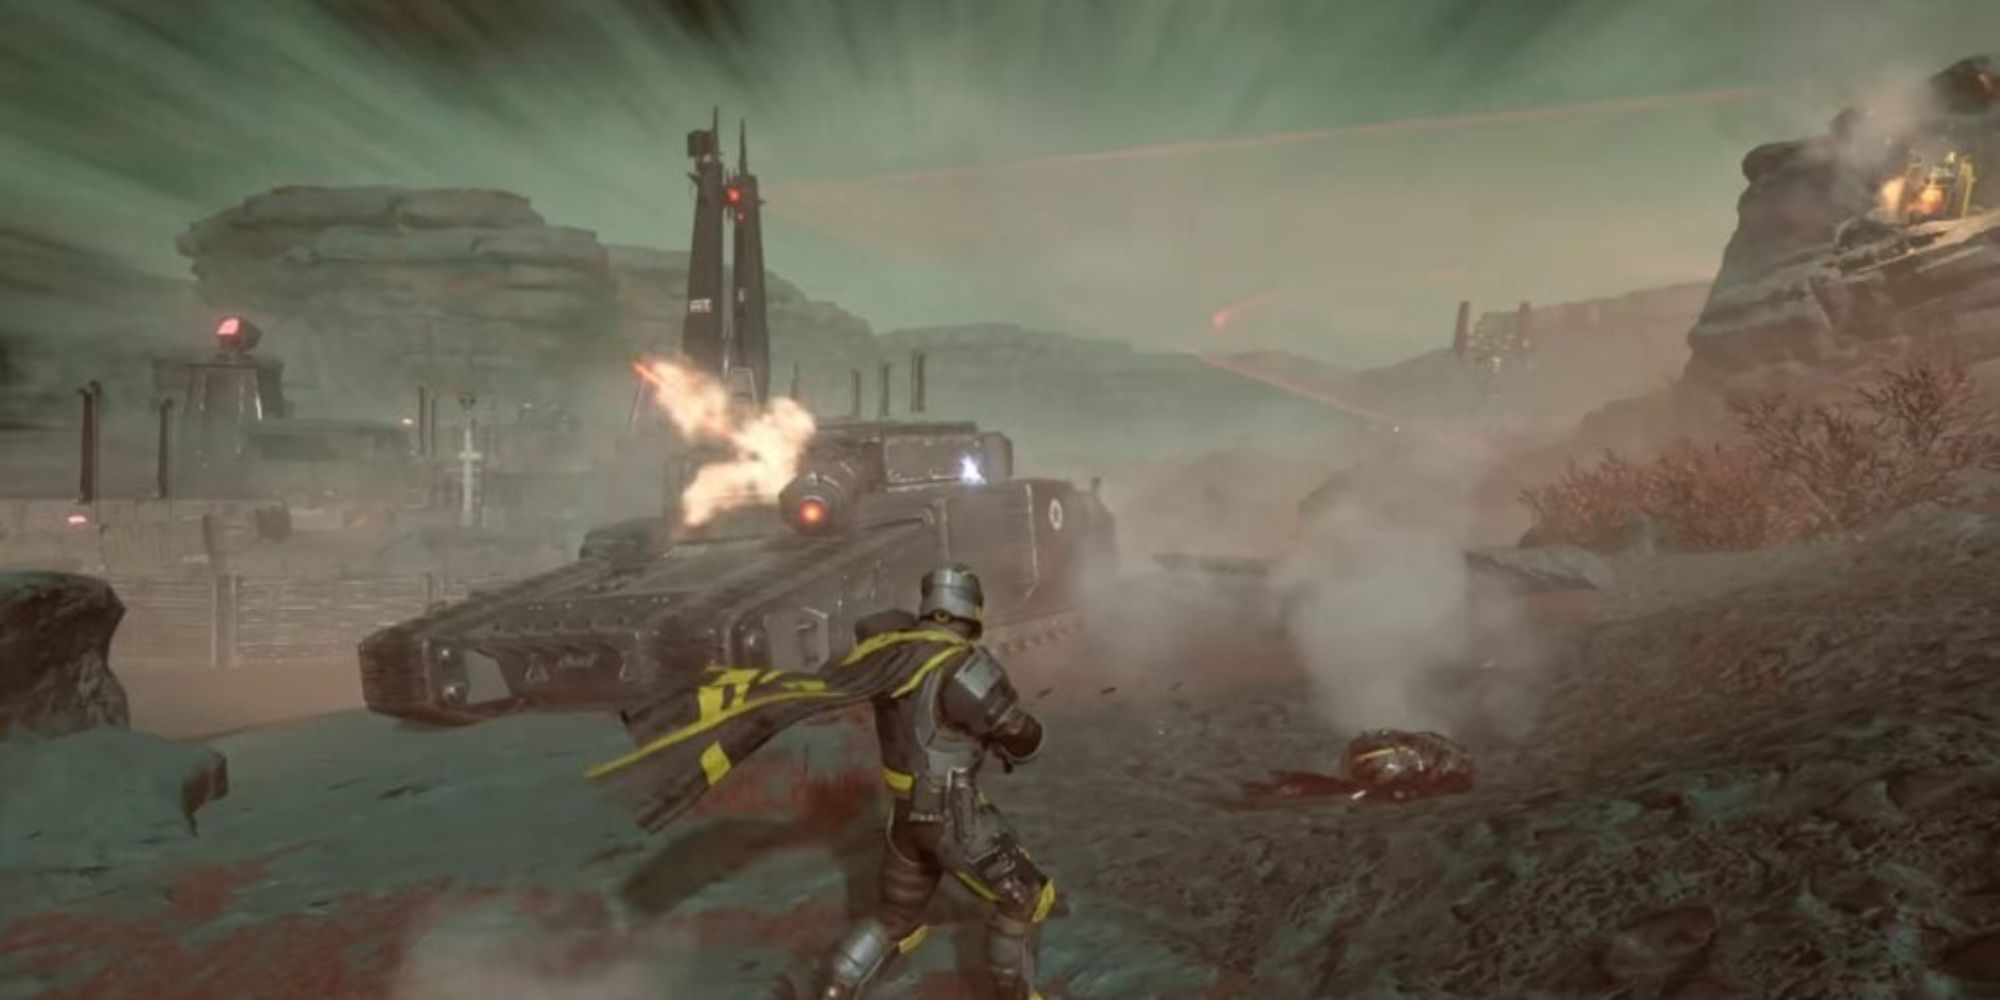
- Automaton Tanks & Turrets: Both of these deadly targets feature a vent vulnerability on their back side. About 3 well-placed Autocannon shots on said vulnerability will destroy the target.
- Automaton Hulk: Target the glowing red eye on their faceplate. About 2 direct hits should take them out of the fight.
- Automaton Dropships: Unfortunately, you aren’t able to take out a Dropship with the Autocannon, but you can deal some serious damage to the troops it carries before they can even deploy.
- Terminid Bile Spewers: This enemy can turn the tide of a battle in seconds once they get close enough to spew bile. 2 shots to their heads will destroy them. Catching this enemy before it’s able to get too close is a boon to your squad.
- Terminid Bile Titan: the Autocannon isn’t effective at bringing this target down, but it can destroy their bile sac, removing their ability to spew bile. Then, you or your teammates can take them down with stronger ordnance.
Destroy Bug Holes & Bot Fabricators
Long-Range Objective Clear
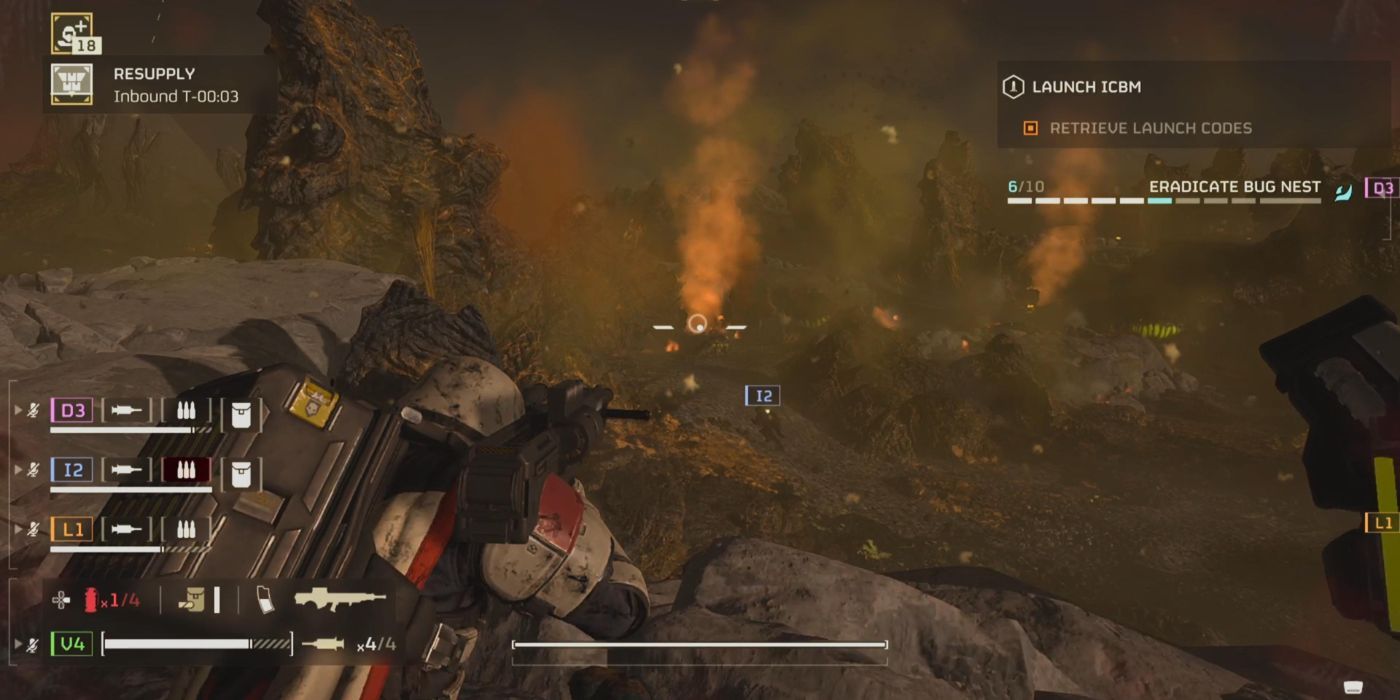
Additionally, the Autocannon can actually destroy Bot Fabricators and Bug Holes at remarkable ranges. As long as you have just the right angle on them, you can land a shot straight into the exhaust vent on Bot Fabricators to destroy them. Same with Bug Holes (image shown above, and video included below). It’ll take some practice to get this just right, and it’s easy to be just a little off, but once you find the right spot, it’s a game changer.
This same strategy works on other important targets like Illegal Broadcast Towers and Spore Spewers; with practice and good aim, these targets can be eliminated from across the map!

Helldivers 2: 10 Tips & Tricks For Difficulty 9 Missions
Need some help completing the Difficulty 9 missions in Helldivers 2? Here are some nifty tips and tricks to get you through the hardest missions.
